Redox Split Keyboard Build
By Will Thong, Wed 23 June 2021, in category Electronics
By Will Thong, Wed 23 June 2021, in category Electronics
I’ve had an old Cherry MX 3000 Keyboard for the past seven years. As delightfully clicky as it was, I wanted it to be more ergonomic and more customisable. Traditional keyboard layouts encourage two sources of wrist pain: forearm pronation (rotating wrists inwards) and ulnar deviation (horizontally bending wrists outwards because they have to both be in front of you, narrower than shoulder width apart). Split keyboard designs help avoid both. Moreover, an ortholinear layout (where the keys are arranged in a grid rather than staggered) means the fingers don’t need to travel as far, as Ben Vallack convincingly argues here. The staggered layout is actually just a holdover from the days of typewriters. I had no particular pain due to any of these ergonomic design flaws but felt there was no harm in some preventative medicine. I also wanted a keyboard which would more easily let me access shortcuts, such as those for music playback.
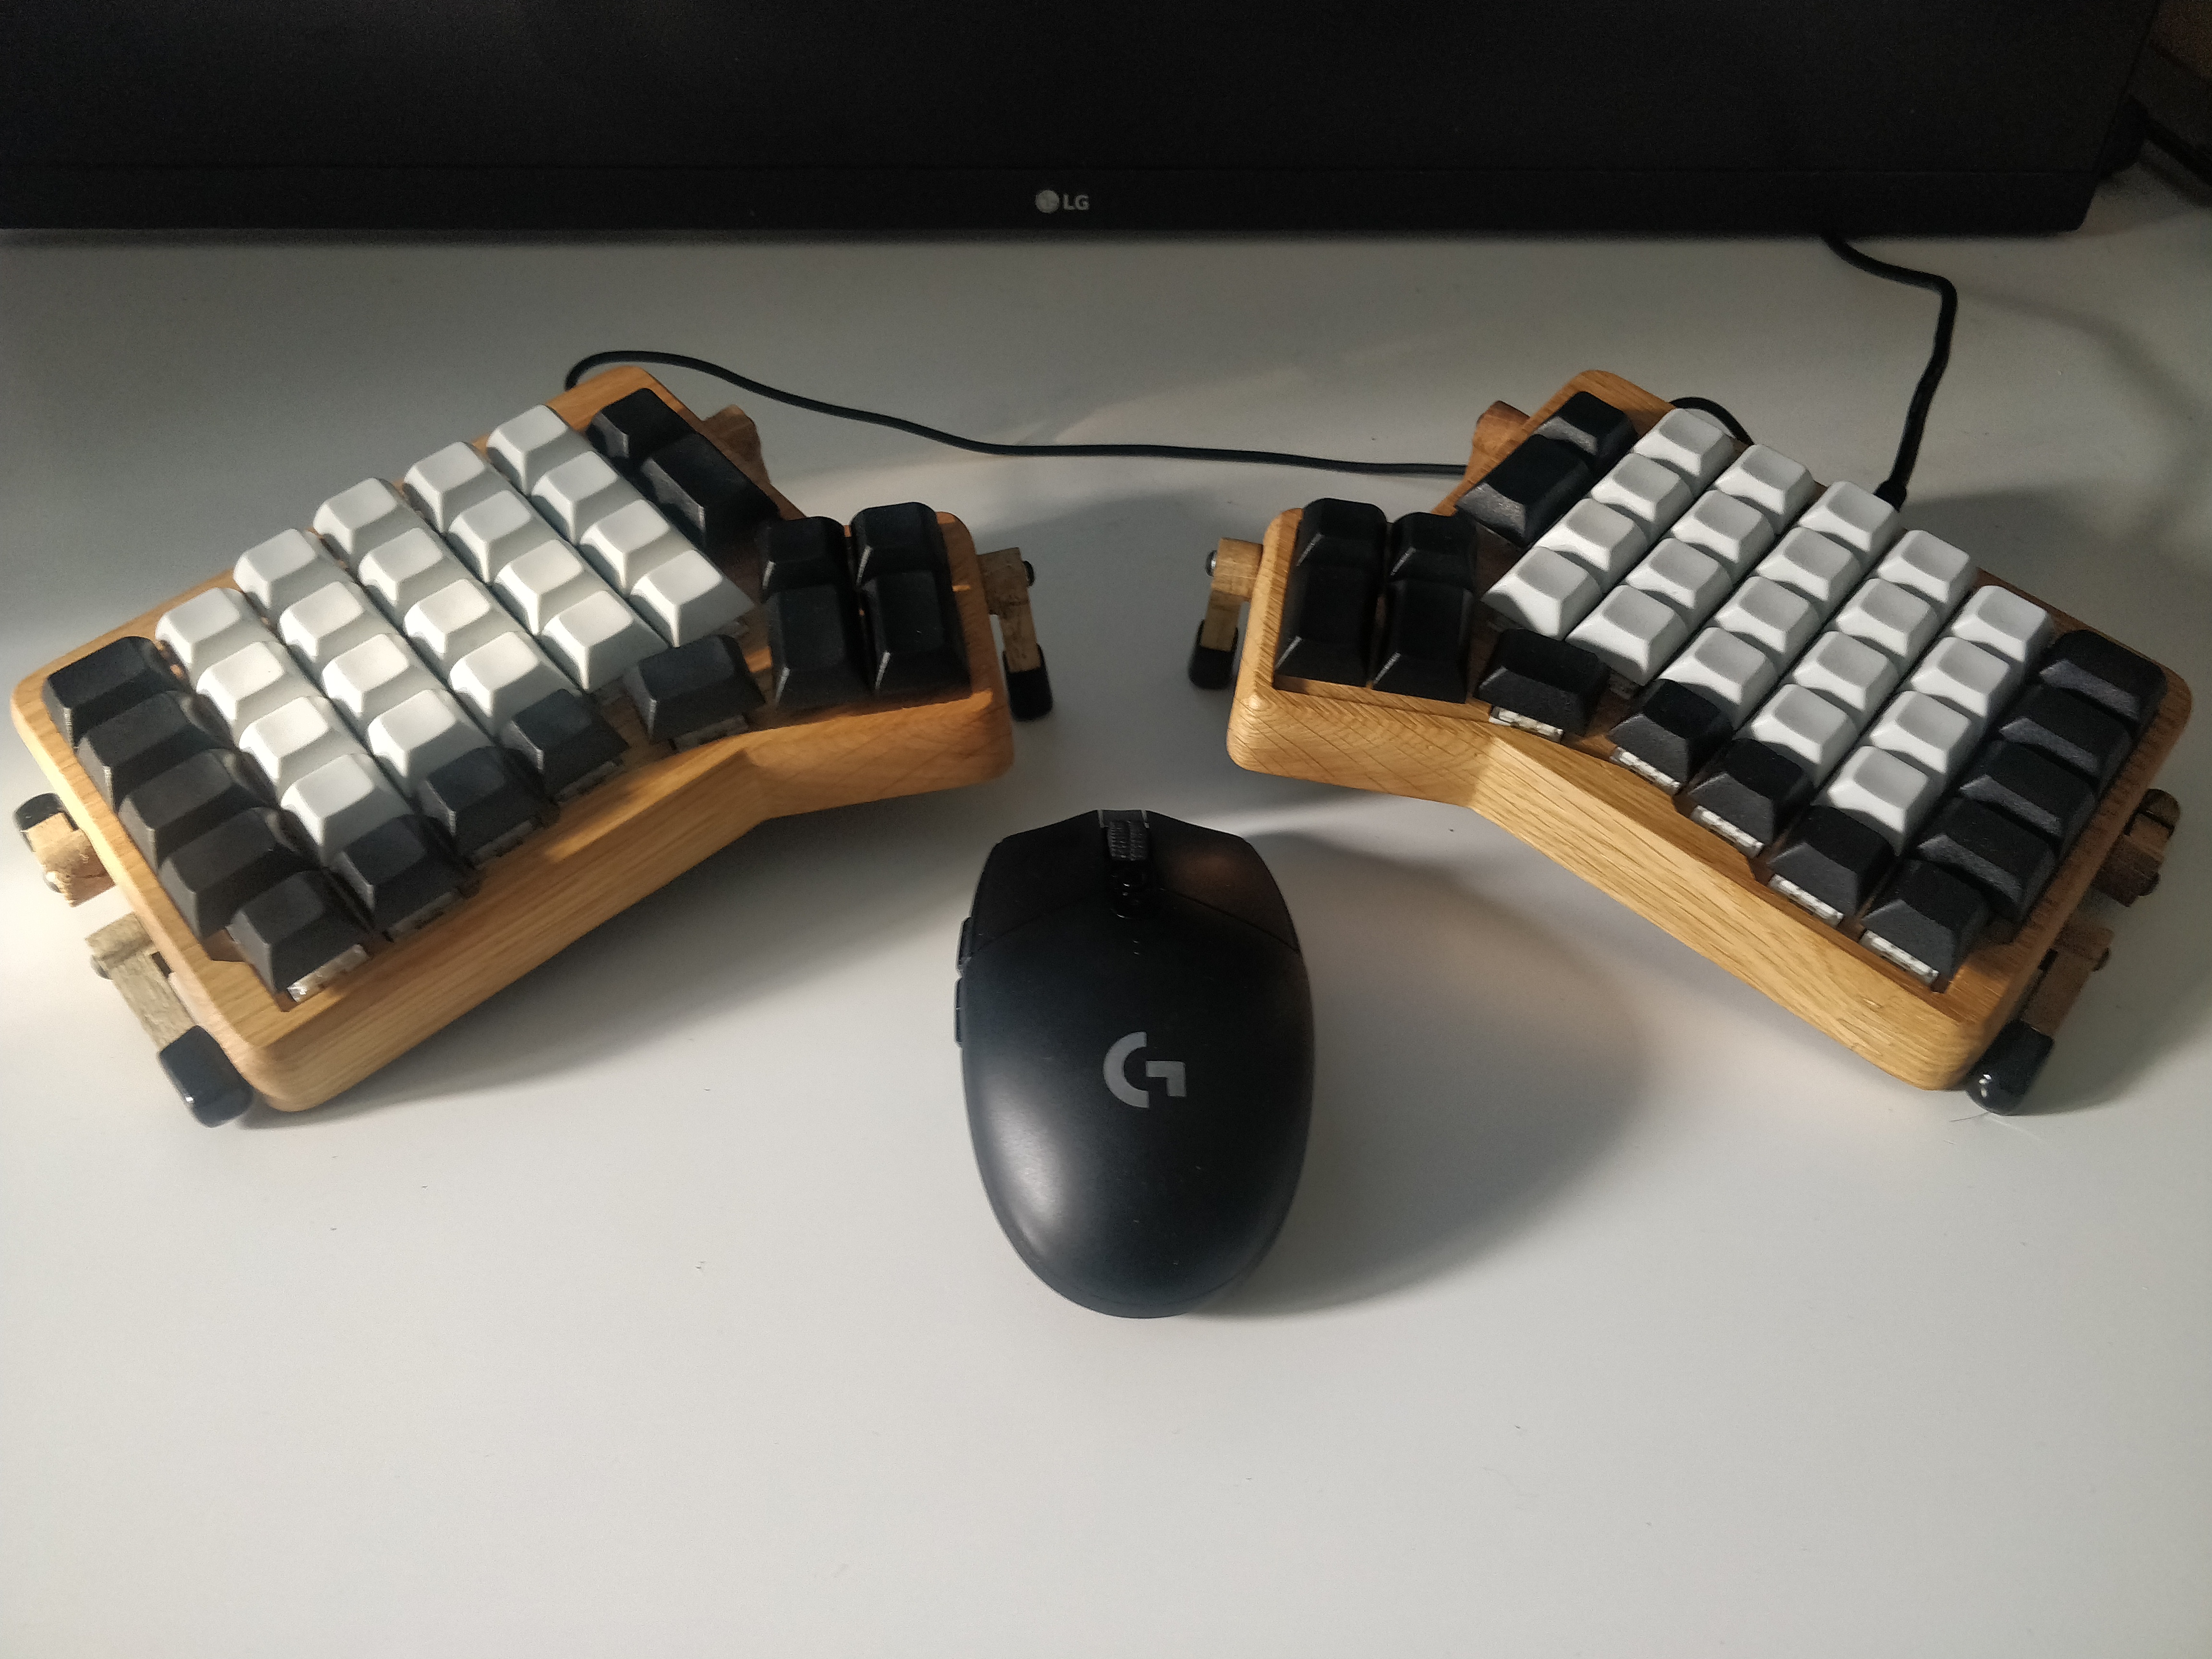
The Redox keyboard fit the bill: there are only 70 keys, thus saving a lot of space compared to the standard 105-key layout; the incredibly customisable QMK firmware still allows access to a numpad and Fn keys; it lets me move regularly-used keys like Enter, Backspace and Delete from the less dextrous pinky fingers to the more dextrous thumb while keeping my fingers on the home row; and the split layout affords all of the above ergonomic benefits. Redox is an open source keyboard design based on the ErgoDox and Iris split keyboards. Thanks to FalbaTech for selling me their beautiful CNC machined oak case, and all of the necessary electronics (apart from the keycaps which I bought from AliExpress).
Alongside the official build guide, I also used CostasK’s fantastic guide; rather than duplicate his work, I’ve just noted a few pitfalls which might help future Redox builders! (I am terrible at soldering so these mistakes are numerous)
The first note is to test as much as possible as you go along. CostasK rightly observes that it’s a good idea to flash the Arduino before soldering it in order to test that it works, but having done this you should also test that shorting a selection of pins (eg 14 and 7) actually generates keyboard input via the plugged-in Arduino. Also, the only switches you need to solder before soldering the Arduino to the header pins are the two switches directly underneath the Arduino, so don’t bother soldering the rest of the switches until you’ve tested that these two switches work. If you’re unsure why any key isn’t working, it’s normally a poor solder connection between the switch and the PCB; you can test this by shorting the PCB on the diode side.
Make sure that the Arduino’s header pins are straight when they’re put into the PCB, or you’ll struggle to slip the Arduino on gently. I wrecked a pair of header pins this way and ended up having to manually solder some of the leftover diode legs in to serve as makeshift headers. Thankfully it worked, but the uncertainty was not fun.
My biggest mistake was to solder the switches onto the PCB before they were installed in the case. This bears repeating: the switches must be in the case before being soldered to the PCB. The switches attach to the PCB through the case. I suspect this would’ve been obvious had this not been my first keyboard build. I only realised my mistake upon trying to fit the PCB (with all the switches attached) into the case and seeing that it would not drop in as designed. This meant I had to unsolder the Arduino as well, because there’s no other way to access the switches; this was a particularly humiliating climb-down!
I installed my resistors on the master side (which I chose as the right side), although I don’t think it’s important given that either side can function as the master so long as it is plugged in via Micro USB.
Finally, a note on firmware. Upon plugging in the master half and attaching the slave
half via the TRRS jack, you’ll be pleased to see the keys work, but perhaps frustrated
that the wrong outputs are being produced by either the master or slave side. This is
because, by default, both halves think they’re the master and are therefore generating
master outputs. In order to tell the keyboard which half is master, you will need to
navigate to qmk_firmware/keyboards/redox/keymaps/, make a new directory for your
keymap, then create a config.h file. In that file you’ll need to put #define
MASTER_RIGHT or #define MASTER_LEFT depending on which side you want to act as
master. (This is also the file for other important settings like #define
ONESHOT_TAP_TOGGLE 2 which locks Layer 1 whenever I double-tap the Layer 1 button,
rather than having Layer 1 activated only for the next keystroke as default.) Also place
your keymap.json file here, whether generated on QMK_CONFIGURATOR elsewhere, then plug
in your keyboard and issue the commands:
qmk compile -c
qmk flash
When the terminal says Reset your controller now..., press the keyboard’s
reset key. Repeat as necessary for the other half of the keyboard
This has been a really fun project which has taught me a lot about how keyboards work. It’s left me with a much more comfortable typing experience and a lot of more efficient keybinds which don’t require my hand to leave the home row (eg a Vim layer which allows me to move left, right, up and down in any application without leaving the home row).